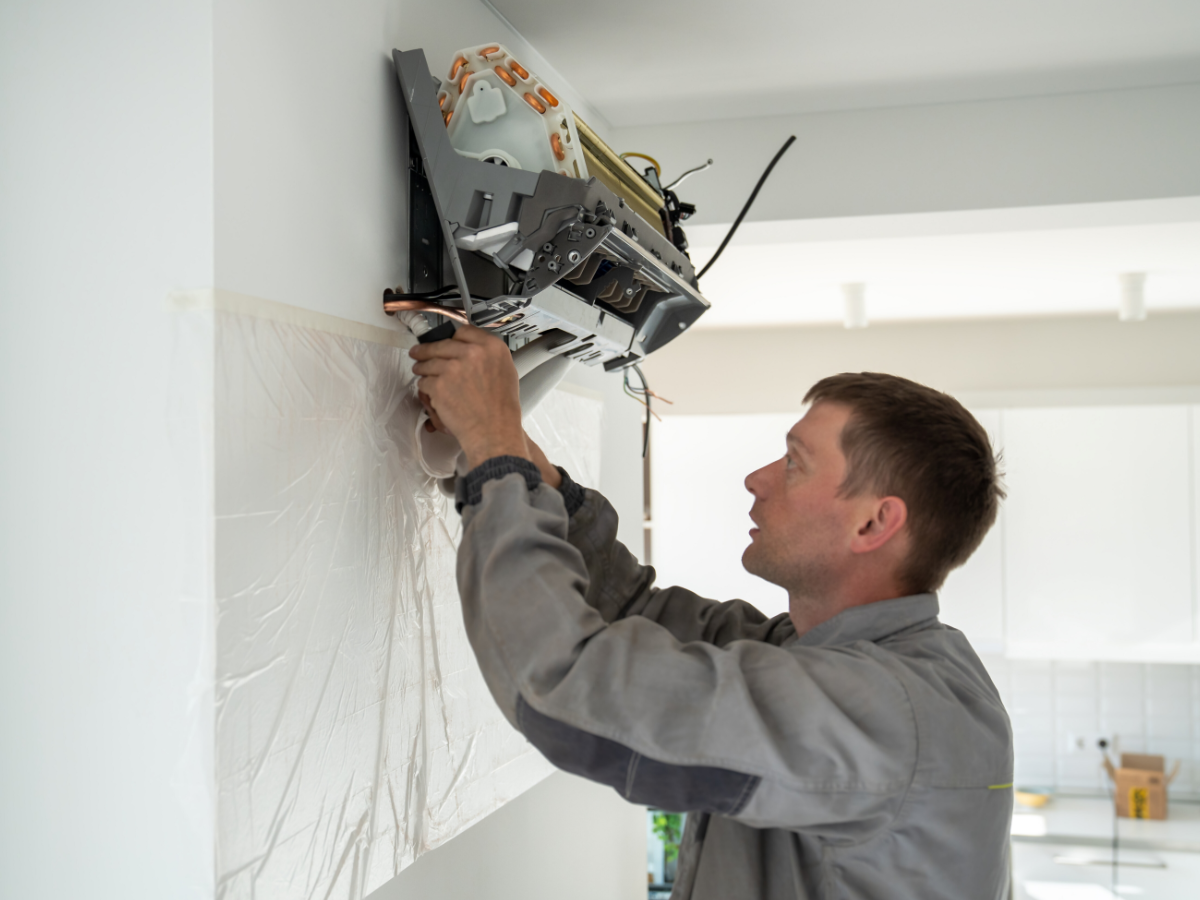
 When you’re looking for an HVAC system that will efficiently heat and cool your home, consider ductless mini-splits. Since they don’t require ducts, these systems are easy to install and operate. Each mini-split unit will heat or cool a small area or zone in your home. To maximize the comfort and efficiency of your mini-split system, professional unit placement is crucial.
Key Takeaways
- Best indoor mini-split placement: high on a wall, clear airflow
- Best outdoor placement: shaded, ventilated, level space
- Avoid common mistakes like blocking airflow or placing near heat sources when searching for the best place to install a mini-split
What Is a Mini-Split and Why Placement Matters?
A mini-split is a type of ductless HVAC system that acts as a heating and cooling unit. Multiple indoor units are connected to an outdoor condenser via refrigerant lines. Each indoor unit heats and cools a different space, which ensures zoned climate control in your home. Mini-splits are paired with traditional or inverter heat pumps, the latter of which come with variable-speed compressors.
Placement of these units can significantly affect performance, comfort, and energy bills. If you place two of them close together, your home’s energy consumption will likely increase. Mini-splits aren’t plug-and-play. You need to think strategically when placing these units throughout your home.
General Mini-Split Placement Rules
During installation, always allow for clear airflow around units to ensure they don’t overheat. Avoid direct sunlight, high humidity zones, and airflow obstructions to limit the potential for malfunctions. If you’re looking to maximize ROI, place units in commonly used rooms.
Maintain easy access to each unit to ensure you can regularly clean the air filter. It’s a good idea to install units around five to seven feet above ground. However, they shouldn’t be placed too close to the ceiling.
Best Places to Install a Mini-Split Indoors
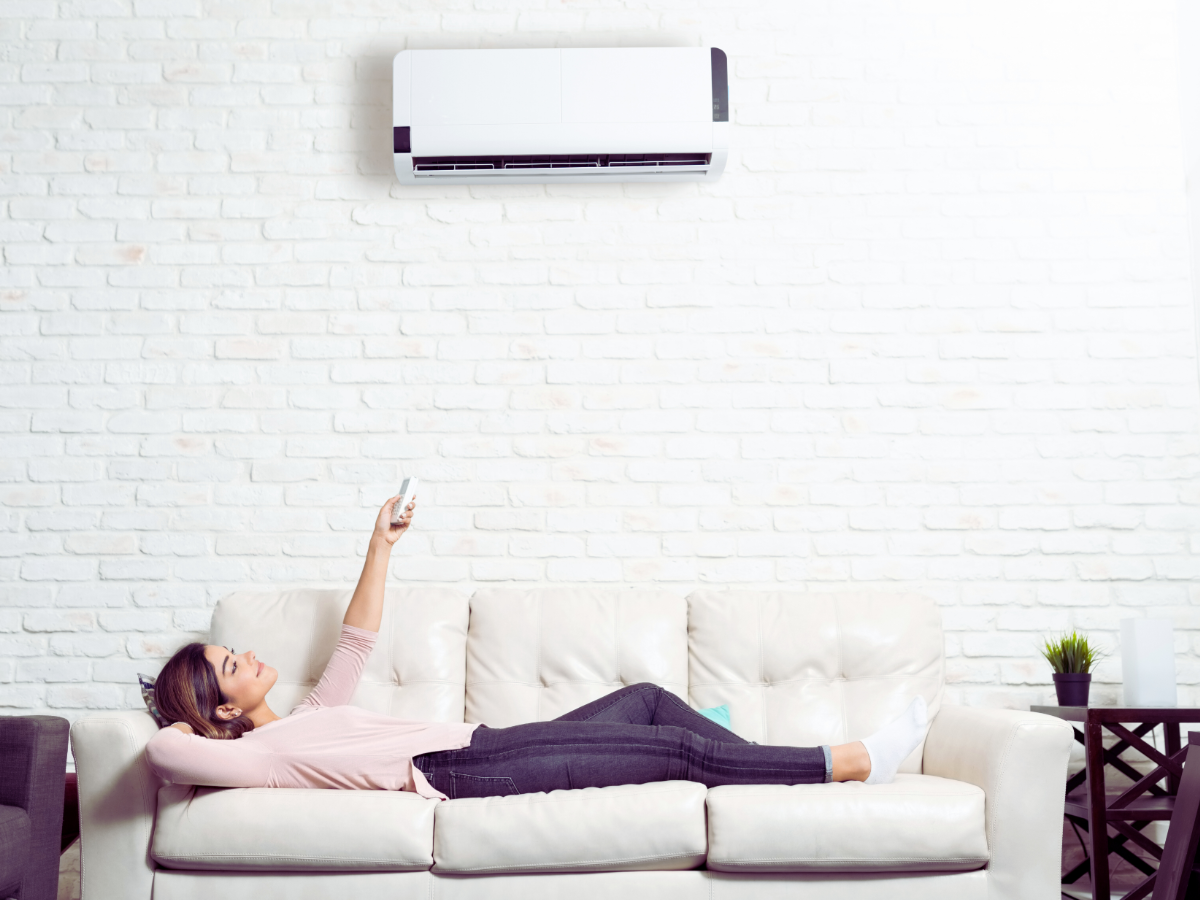 Living Rooms
If you decide to place a mini-split in your living room, position it on a central wall for even coverage. Avoid placing it above big furniture or electronics.
Bedrooms
When searching for units that pair well with the bedrooms in your home, look for models that are quiet enough for sleep zones. Don’t direct airflow at the bed.
Home Offices
If you work from a home office, focus on comfort and quiet operation to maintain high productivity while you do your job. Avoid direct exposure to monitors or seated areas.
Kitchens
If you’d like to place a mini-split in your kitchen, avoid installing it near ovens and stovetops. Mount on the opposite wall for optimal air circulation. This placement will handle extra heat and humidity effectively.
Basements, Attics, and Sunrooms
Mini-splits can fix hot/cold zones in your attic or basement where ducted systems often fail. Consider adding dehumidifying or backup heat where needed. If you have a sunroom in your home, a mini-split will allow you to maintain comfortable temperatures all year round.
Best Placement for Outdoor Units
The outdoor mini-split placement is just as important. It’s a good idea to install it on a flat, stable surface like a pad or bracket. Mini-split clearance requirements are around 12-24 inches on all sides. If possible, place the unit in a shaded but ventilated area. It shouldn’t be too close to any shrubbery. Keep the unit away from windows, bedrooms, and property lines.
Single-Zone vs. Multi-Zone Placement Strategy
The two placement strategies you can adopt when installing mini-splits are single-zone and multi-zone. If you already have some form of air conditioning and heating in your home, you’ll benefit from a single-zone system, which is the optimal placement for targeted comfort. For example, you could place a single-zone system in your living room or master bedroom to maintain efficiency.
If you choose a multi-zone system, plan the layout to avoid crossed airflow and wasted energy. For example, homeowners often place mini-split units at the opposite ends of their homes. There are some distance limitations between indoor/outdoor units. When planning your mini-split zone layout, make sure none of the indoor units are further than 125-160 feet away from the outdoor unit.
Mini-Split Placement Mistakes to Avoid
When placing mini-split units in your home, avoid some of the more common mini-split installation mistakes. As mentioned previously, each unit should be positioned around five to seven feet above ground. If you mount too high or too low, you may experience airflow issues.
It’s also crucial that you avoid installing units above heat sources, doors, or electronics. Don’t ignore your furniture layout and airflow direction when you’re installing mini-splits around your home.
Every indoor unit will be connected to the outdoor condenser. Avoid poor line set concealment and drainage routing. You could damage the aesthetics and curb appeal of your home if the lines that lead to your condenser aren’t properly concealed.
Visual & Aesthetic Considerations
For the interior units, match the finish of each device with the wall color to maintain a consistent interior design. Use decorative line set covers for the refrigerant lines that lead outdoors. If possible, hide or blend the outdoor unit with plants or a custom enclosure. You could build a garden trellis around the unit. If you choose to conceal the outdoor unit, you need to do so without blocking ventilation.
Pro Tips for Maximum Efficiency
To maximize mini-split efficiency, pair your units with smart thermostat settings. When you aren’t using a specific zone, increase or decrease the temperature by a few degrees.
During the summer, the ideal indoor temperature is 78 degrees Fahrenheit when you’re home and 86 degrees Fahrenheit when you’re away. In the winter, keep the thermostat at 68 degrees Fahrenheit when you’re home and 60 degrees Fahrenheit when you’re away.
Consider using ceiling fans to boost airflow in large rooms. To minimize your energy bills, you’ll need to keep filters clean and vents unobstructed.
Installation Checklist
Before installation begins, inspect the indoor and outdoor spaces for anything that might act as an obstruction during the process. Make sure any combustible materials are kept away from the installation space.
As mentioned before, you’ll need to maintain 12-24 inches of clearance on every side of the outdoor condenser unit. The indoor units should be at least five feet above ground but not too close to the ceiling. It’s important that you don’t restrict airflow.
Before installing the indoor and outdoor units, inspect them to ensure there aren’t any loose or damaged parts. It’s also a good idea to ask the installer some questions before the installation takes place, such as:
- Do I have the right unit size?
- Does the layout of my indoor units maximize efficiency?
- Does your work come with a warranty?
- Do you provide emergency repairs?
- How long do you expect the job to take?
FAQs
Can I put a mini-split in every room?
It’s technically possible to install a mini split in every room. However, you’ll save money by strategically placing the units around your home. You may be able to heat and cool two rooms with a single unit.
Do mini-splits need to be on an exterior wall?
While mini-splits don’t need to be installed on exterior walls, doing so makes it considerably easier to connect the outdoor and indoor units.
How far apart can the indoor and outdoor units be?
Don’t exceed 150-160 feet between your indoor and outdoor units during installation.
Will it work in extreme heat or cold?
While you can run mini-split systems in a wide range of possible temperatures, they might not work properly in extreme heat or cold. With a low ambient mini-split, the system will function even if the outdoor temperature is zero degrees Fahrenheit. However, cheaper models may stop working when temperatures dip below 20-30 degrees Fahrenheit. As for extreme heat, mini-splits work at temperatures up to 115 degrees Fahrenheit.
Schedule Ductless Mini-Split Installation Today
![]() When you’re thinking of adding a ductless mini-split system to your home, good placement is just as important as the unit itself. You can boost comfort and maximize efficiency with the right layout. Don’t go it alone. Consult a certified HVAC pro like One Hour Air Conditioning & Heating to ensure you receive reliable installation.
When you’re thinking of adding a ductless mini-split system to your home, good placement is just as important as the unit itself. You can boost comfort and maximize efficiency with the right layout. Don’t go it alone. Consult a certified HVAC pro like One Hour Air Conditioning & Heating to ensure you receive reliable installation.
We provide efficient ductless mini-split services like installation, repair, and maintenance. Our team also offers these services for heat pumps and central air conditioners. We serve Tampa, FL and nearby areas. We’re always on time or you don’t pay a dime. Call us today to book our installation services.