 Tampa homeowners, take note: maintaining your heater is key to your comfort and safety; plus, it helps you save money and protect your warranty. Investing in regular service will keep your heater performing at peak efficiency and prolong its lifespan.
If you think running your heater less often means it needs less care, think again: it’s easy for unused systems to develop hidden issues in Florida’s warm, humid climate. When your heater is off, moisture, salty sea breezes, dust, and pests can get into your system and damage its components, leading to breakdowns when you start up your system in winter.
Below, we’ll provide some quick takeaways, provide DIY maintenance tips, and discuss the need for periodic professional service.
Quick Takeaways
- We’ll cover essential maintenance steps every homeowner should take to keep their heater running well.
- Tasks like inspecting the electrical system, sensors, controls, motors, compressors, and refrigerant or gas lines require professional attention.
- Homeowners should NEVER ignore safety warnings like the scent of gas, loud noises, error codes, and alarms.
- To keep your heater running safely, efficiently, and reliably, you should service your unit annually.
- Benefits of regular maintenance include lower bills, better airflow, safer operation, a longer lifespan, and more.
Heater Maintenance Checklist for Homeowners
Having a working heater will keep you comfortable when the temperatures drop, and simple home maintenance can help you keep costs down and avoid repairs.
Below, we’ve included a basic checklist you can follow to keep your heater performing well. If you feel like these tasks are too much to handle, you can always call on Tampa One Hour for hassle-free service.
1. Replace or Clean Your Air Filter
Tampa’s air can be filled with dust and pollen, even during the colder months. Dirty air filters can cause your system to work harder than usual, reduce airflow, cause excess wear, and decrease its efficiency.
Check your filters monthly and replace or clean them whenever they are full of dust. Keeping your filters clean will enhance your air quality and improve your heater’s performance.
2. Inspect and Clean Your Vents and Registers
To get the most from your heater, you’ll also want to ensure that your vents and registers are clean and clear of obstructions. As air flows over dirty grills, it can bring dust into your home and worsen your indoor air quality.
You can use a vacuum with a brush attachment and a damp cloth to remove dust. To maintain good airflow, ensure that your vents aren’t covered by your rugs, curtains, or furniture.
3. Check Your Thermostat for Accuracy
If your thermostat is malfunctioning, your heater can short cycle, waste energy, and affect your comfort. Signs of calibration issues include incorrect temperature readings and unresponsive controls.
To check your thermostat’s accuracy, place a thermometer next to it, wait 15 minutes, then check to see whether the thermostat and thermometer display the same temperature. If the readings are more than 3 degrees apart, your thermostat may need service.
Incorrect thermostat readings can cause your heater to run too often, shut off too quickly, or run at the wrong times, causing it to use excess fuel and suffer increased wear and tear.
4. Make Sure Nothing Blocks the Heater Area
Heaters can be fire hazards if they’re neglected, so it’s important to keep the area around your unit clear of anything that could block airflow or burst into flame. Getting rid of dust, boxes, and other flammable items and leaving at least 2 to 3 feet of space around your heater will reduce the risk of serious property damage and make your home safer.
5. Check for Unusual Noises or Odors
A well-functioning heater should run quietly and leave your air smelling fresh. If you notice strange noises or odors coming from your unit, be wary, and call a professional to inspect your unit.
Rattling, grinding, clanking, squealing, or buzzing noises can be signs of a worn or loose component or an unbalanced motor. Burning odors could indicate an electrical fire, and a musty smell could indicate that you have a problem with condensation. If you smell gas, you need to turn off your system and call for emergency help in case you have a gas leak.
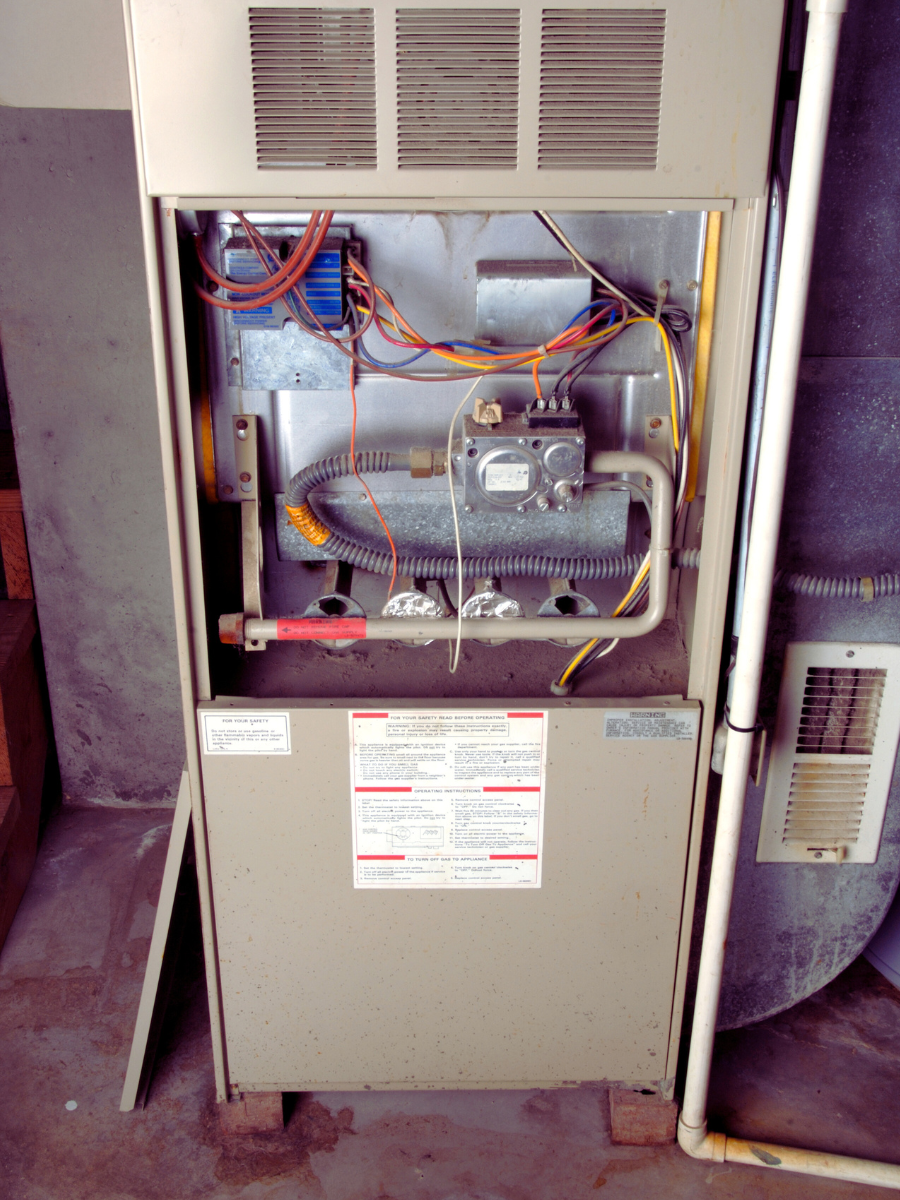
6. Inspect the Pilot Light or Ignition System
If you use gas to heat your home, you should inspect your heater’s pilot light or ignition system from time to time. Your pilot light should burn with a steady blue flame when your heater is on. If you have an igniter, it should glow, click, or spark when you activate your system.
To safely test your heater’s pilot light or ignition system, turn off the power by unplugging the unit or flipping its breaker off. Next, find the gas shut-off valve, turn it off, and wait ten minutes for any excess gas to dissipate.
Next, remove your access panel to inspect your pilot light or igniter. If you see a yellow flame, no flame, dirt on burners or sensors, or a crack in the heat exchanger, call a pro. Problems with gas heaters can put you at risk of carbon monoxide poisoning, so you’ll need to take action right away.
7. Check Your Carbon Monoxide and Smoke Detectors
When you’re checking out your heater, always remember to test your smoke and carbon monoxide detectors and create a monthly testing schedule. You should also replace the batteries in your detectors every year. If your units fail your tests, replace them immediately. Also, make sure you have smoke and carbon monoxide detectors on every floor of your home, and remember to replace them near bedrooms.
Heater maintenance and CO detection go hand-in-hand. Poorly maintained heating systems can put you at risk of carbon monoxide poisoning. Working CO detectors can warn you of potential danger so that you can call a pro for help before they become serious hazards.
8. Examine Ductwork for Leaks or Damage
If your heated air escapes through leaky ductwork, your home may feel cold and your energy bills may rise. If you see gaps or disconnections in your ductwork or feel air escaping from its joints, you may need to make repairs.
Losing warm air through your ducts means that your heater has to move more air to keep your house at your desired temperature. This extra work can put stress on your unit and lead to higher utility and repair bills.
9. Clear Debris From Heat Pump or Outdoor Units
If you’re using a heater with outdoor components, you’ll need to make sure it has plenty of breathing room. To improve airflow, keep at least three feet of clearance around your unit.
Be sure to brush away any leaves, vegetation, grass clippings, and dirt, and trim back nearby trees and shrubs. When air flows freely around your heater, it will perform better and run more quietly and efficiently.
10. Test Your Heater Before the Season Starts
Once you’ve run through your checklist, you should do a test run of your heater before the winter season takes hold. On a cool fall day, turn your heater on and watch out for unusual behavior.
Listen for strange noises, check your filters and thermostat, and take notice of poor airflow or strange odors. Also watch out for short cycling. If you notice a problem, call a professional for service.
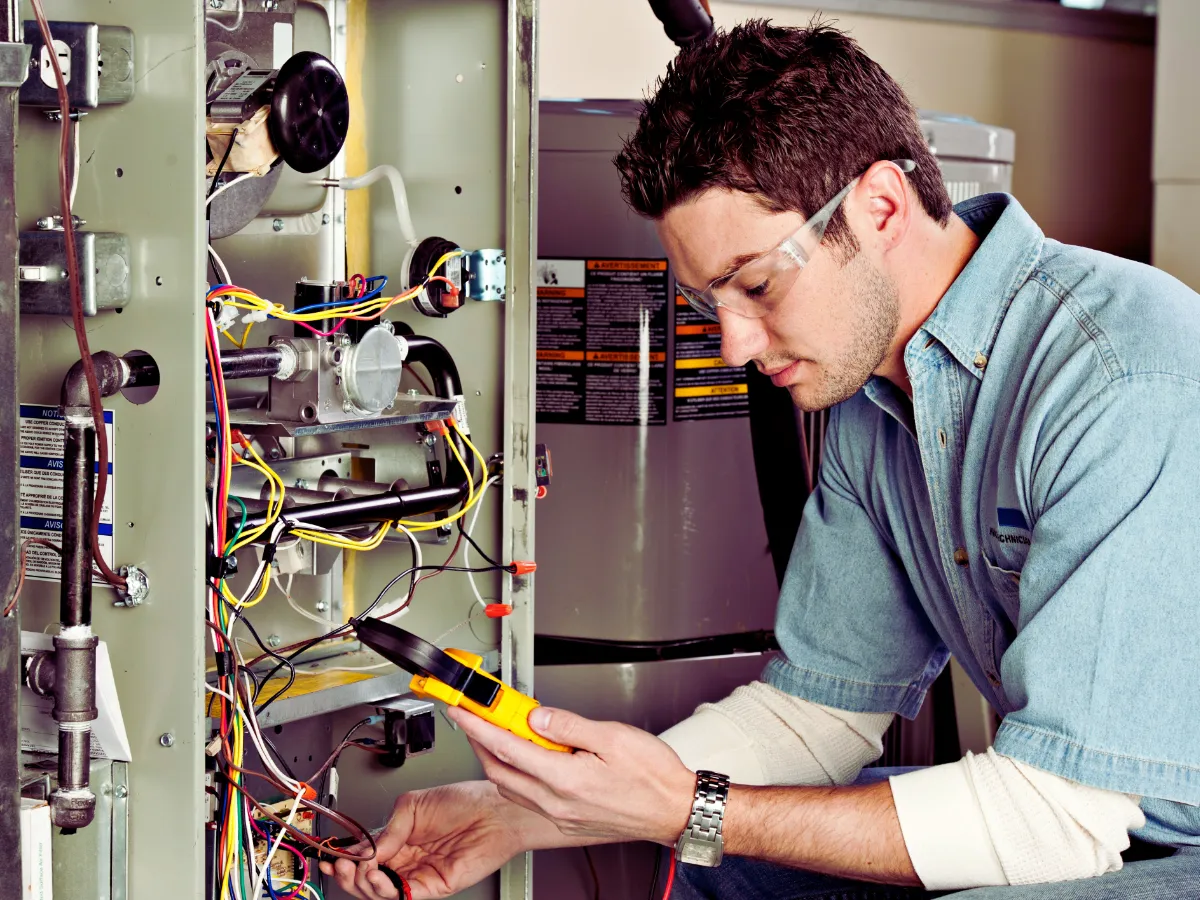
Professional Heater Maintenance Checklist: Tasks Only a Technician Should Perform
When it comes to maintaining your heater, there are some tasks to leave to the pros.
A licensed HVAC technician will have the specialized training necessary to perform these checks:
- Deep component inspection: Your technician can inspect your heat exchanger for cracks, look at the burner and flame sensors, and check your heater’s electrical connections, motor, coils, drains, or gas lines to eliminate the risk of carbon monoxide poisoning, fire hazards, and breakdowns.
- Electrical system testing: Tampa’s hot, humid conditions can cause your electrical components to degrade. Your technician can ensure that all connections, contacts, capacitors, relays, wiring, and sensors are free from damage and functioning properly.
- Blower motor lubrication: A knowledgeable technician can ensure that your blower motor is functioning properly, inspect its bearings, and lubricate it to prevent wear.
- Heat exchanger inspection: During a service call, your technician can examine your heat exchanger and look for cracks, corrosion, or soot that could potentially indicate a carbon monoxide leak.
- Calibration of safety controls: Testing a heater’s safety controls involves ensuring the thermostat is working and verifying high-limit cutoffs to ensure they trigger correctly to prevent overheating.
- Refrigerant or heat pump pressure testing: Only licensed technicians are allowed to handle refrigerants. Refrigerant pressure testing ensures that your heater can move heat efficiently.
Why Professional Maintenance Protects Warranties
Today, many HVAC equipment manufacturers require homeowners to invest in annual professional maintenance to keep their warranties valid. When you hire a professional to service your unit, you’ll have documented proof that you’re caring for your heater. If you skip an annual tune-up, any claims you make could be denied, and you could be left on the hook for out-of-pocket costs.
How Often Should You Maintain Your Heater?
If you’re a Tampa homeowner, scheduling an annual tune-up is essential to keeping your heater running smoothly. Early to mid-fall is the ideal time for maintenance, because you’ll be able to fully address any issues before the temperatures drop.
Even though Tampa’s winters are mild, annual heater maintenance is key to ensuring your unit will run efficiently and safely during unexpected cold snaps. Catching small issues early can help you prevent catastrophic breakdowns and safeguard your comfort. Scheduling a fall check-up every year can also help you reduce your monthly utility bills and extend the lifespan of your HVAC system.
Signs Your Heater Needs Immediate Service (Not Just Maintenance)
In Tampa’s subtropical climate, even the most well-maintained heaters may need unexpected repairs from time to time.
If you notice any of the problems below, call a pro at Tampa One Hour for help:
- Weak airflow
- Burning or electrical odors
- Loud or unusual noises
- Short cycling
- Rising energy bills
- Difficulty starting
FAQ
What maintenance should homeowners do vs. what should a professional handle?
When it comes to heater maintenance, homeowners can safely handle tasks like changing air filters, cleaning vents and registers, checking thermostats and smoke detectors, and ensuring the area around the heater is clear. Electrical problems, refrigerant issues, and strange noises and odors require professional attention.
How often should a heater be serviced?
Tampa homeowners should have their heaters professionally serviced every fall.
Why is heater maintenance important even in warm climates like Tampa?
In warm climates like Tampa, people may use their heaters infrequently. This can lead to dirt, mold, and pest debris building up within the system and cause electrical connections to degrade. Heater maintenance will ensure that your unit’s components are in good working order and ready to serve you reliably.
How long does a professional heater tune-up take?
Usually, a professional tune-up usually takes one or two hours, but older, neglected, or more complex units may take longer to service.
Can skipping heater maintenance void the warranty?
If your manufacturer’s warranty requires you to schedule professional heater maintenance, skipping an annual tune-up could void the warranty, leaving you responsible for expensive repairs.
Schedule Your Heater Maintenance With One Hour Heating & Air Conditioning of Tampa
![]() Annual heater maintenance isn’t a luxury; it’s a necessity that keeps your home safe, energy efficient, and comfortable. When you need to schedule a tune-up, the certified techs at Tampa One Hour Air Conditioning & Heating are here to provide fast, clean, and courteous service with upfront pricing.
Annual heater maintenance isn’t a luxury; it’s a necessity that keeps your home safe, energy efficient, and comfortable. When you need to schedule a tune-up, the certified techs at Tampa One Hour Air Conditioning & Heating are here to provide fast, clean, and courteous service with upfront pricing.
Our team serves Tampa, FL, and nearby areas with same-day availability during cold snaps, so we’re always here when you need us. We’re always on time, or you don’t pay a dime, so schedule your service today!